.jpg)

In this past year of painting, I've had lots of fun experimenting with different gel mediums, adding texture to many of my paintings. This week I am working on a new series of abstracts (see yesterday's post) that will incorporate the use of light molding paste to add texture and interest to the paintings. I thought I would write a little bit about my process.
Applying the light molding paste is my first step. Sometimes I will add the molding paste later in the painting process-when I am using it to add detail to an element in the painting (see pictures at end of post). But in this series of abstract paintings, the texture I'm adding is part of the background--creating a more interesting canvas to paint on.
My favorite tool for applying the paste--a cut-up debit/credit card. A palette knife also works well. I use the card or palette knife to scrape a light coat of light molding paste across a section of the canvas area. It's best not to apply too heavily--a little goes a long ways!
Here's where the fun begins!
There is no end to the different ways you can add texture to the canvas with the light molding paste. Sometimes I take that cut-up card to scrape the paste over the canvas, frequently changing direction, to create an interesting pattern/texture. I have also used a shower scrungee, bubble wrap, or a sponge--getting different looks by pressing whatever I'm using into the light molding paste.

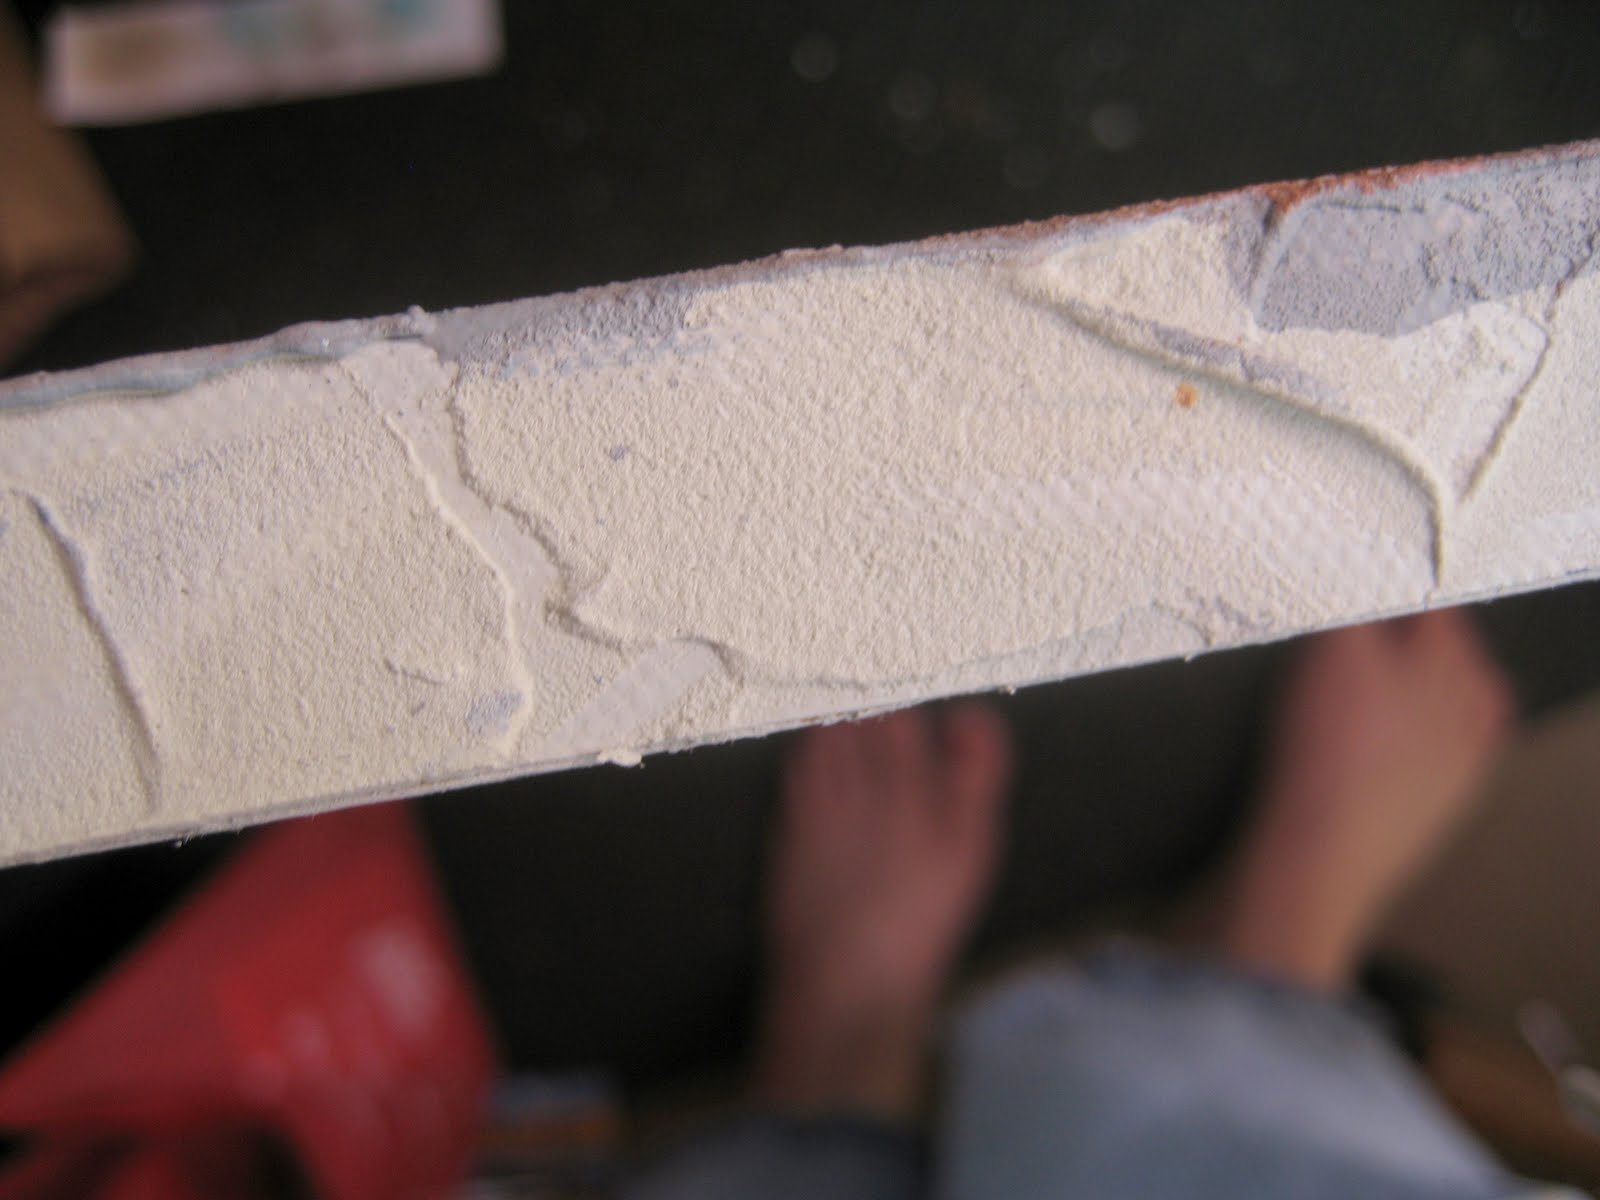
For my recent paintings, I am using this little thread/yarn (???) gadget that I got from a free pile at the studio of a fiber artist. That's it in the top photo...it has ridges all the way around it and it was easy to roll it over the canvas. If you look closely, you can see the affect in the above photo.
A few tips:
--If you are not happy with the results, you can simply scrape off the molding paste (while it's still wet) and try again.
--Be prepared to make a mess. I like making a mess, but if you don't, you might want to wear gloves.
--Rinse your "tools" before the paste dries. You can re-use your tools if they are cleaned before the paste hardens.
Now it's time to allow the molding paste dry on the canvas--24 hours is good. Once the paste is dry, you can paint right over it. For these abstract paintings that I'm working on, the texture of the light molding paste adds a lot of interest to the painting. The texture "catches" the paint in an interesting way...creating movement and energy. I'll take some close-ups to give you a better look!

Here's one other interesting thing I did with the light molding paste on this painting--these are older canvases that someone gave me. The canvas has staples on the side, rather than having the canvas wrapped around the frame and stapled on the back. I used the paste to somewhat disguise the staples--still keeping with the flavor of the painting. Here's a pic ( I will still paint the sides to match the painting)--
This way the canvas can still be hung without a frame and the staples are not so noticeable. And it can still be framed at a later date.
I'll finish with a few shots from one of my recently completed paintings where I used light molding paste to create texture within the flowers I painted--

Here I applied the paste and used a palette knife to create texture.

With this one, I used the tip of a paintbrush to create a swirl pattern.

And here I pressed a shower scrungee into the paste. And the finished product--

1 comment:
Great information! Thanks for sharing your tips and showing us pics. =)
xx
samos
Post a Comment